- Mon 23 May 2022
- Home-Improvement
- #linux, #python, #self-hosting, #home-automation, #iot, #esp8266
As you may already know, I've been doing lots to automate my home. It's come to the point that my mother and other family members complain that they can't do anything in my house without me. Well, that's left me with a bit of a conundrum. How can I make it so that people can use the home-automation things, but not need any of the nuianced nonsense?
All of the Audio
I've been working to make the audio "network" in my home quite extensive. Between use of VBAN for digital audio streaming between my study and living room (read more here), and analog connections from my study to kitchen, lab, and (yes) even bathroom. Now, the challenge with all that is that it's still highly reliant on my desktop or cell phone as the main source of audio. Additionally, whenever I have virtual meetings in my study, I need to shut everything down around the house. Not very much fun.
I decided that I need a central control to allow easy Pianobar playback control, in addition to a "master mute" button that'll disable all audio streaming around the house. Now... I'm still working on the actual "control box" which will have all of the buttons, but the operational pannel is already set up.
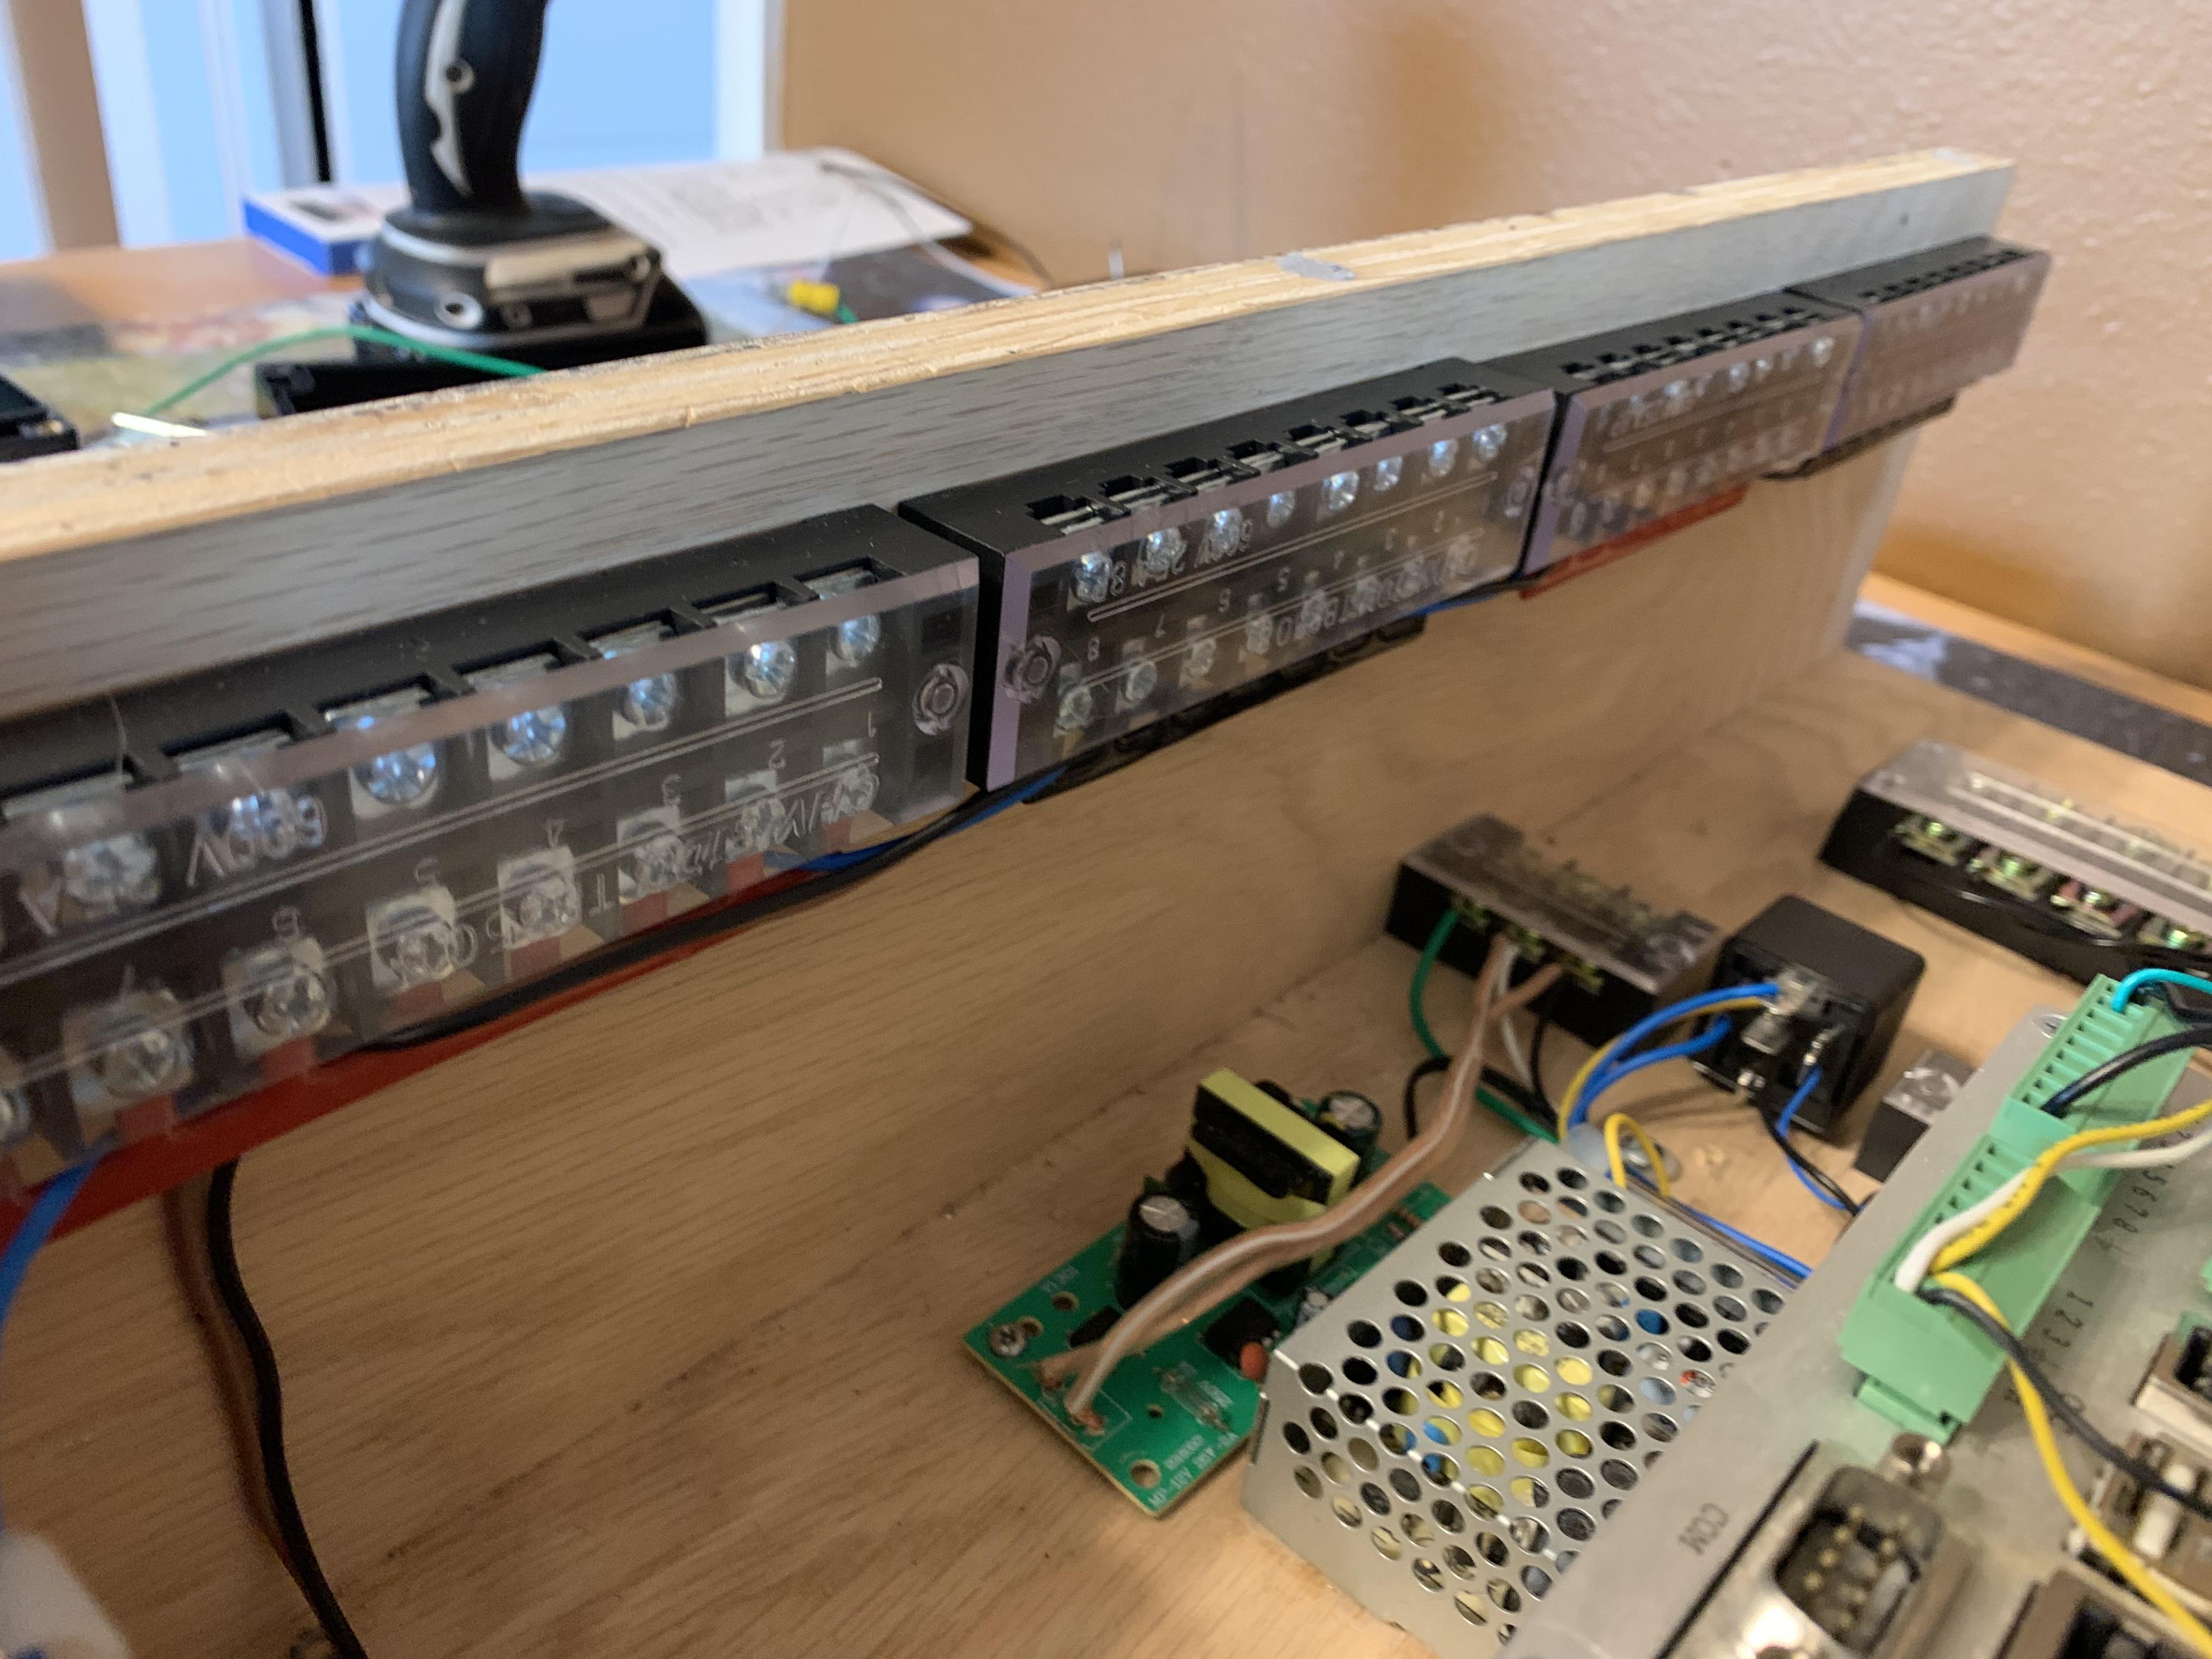
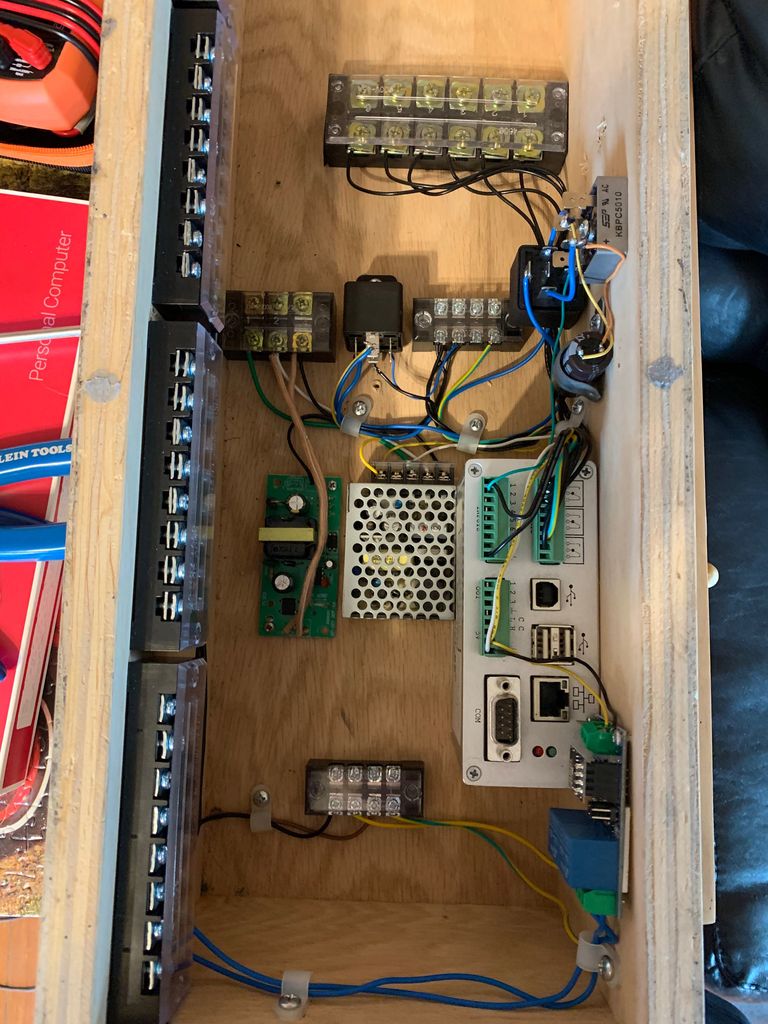
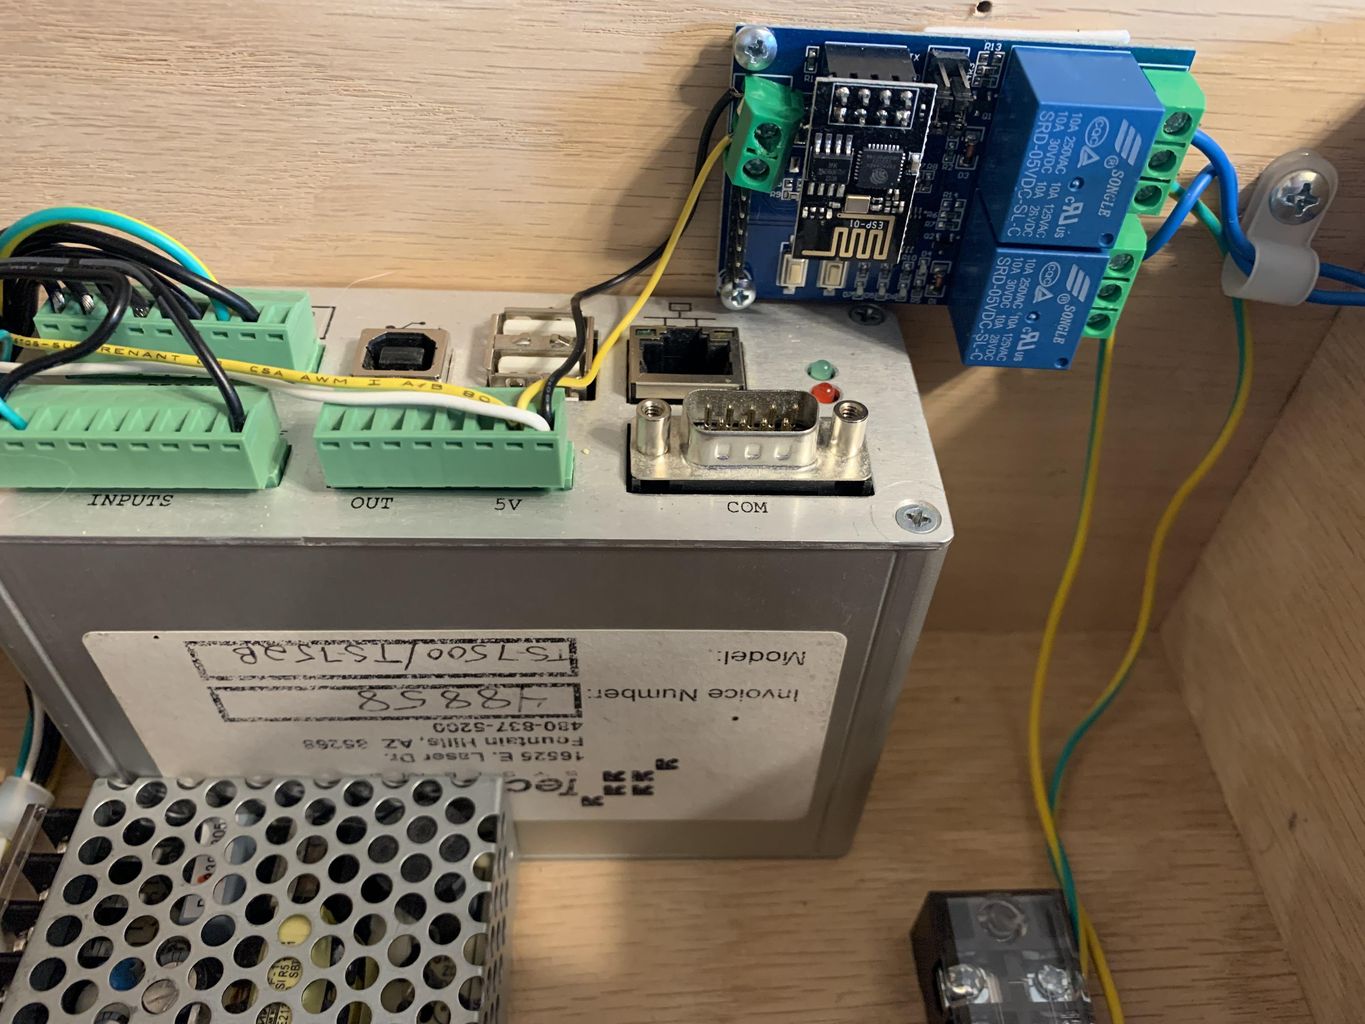
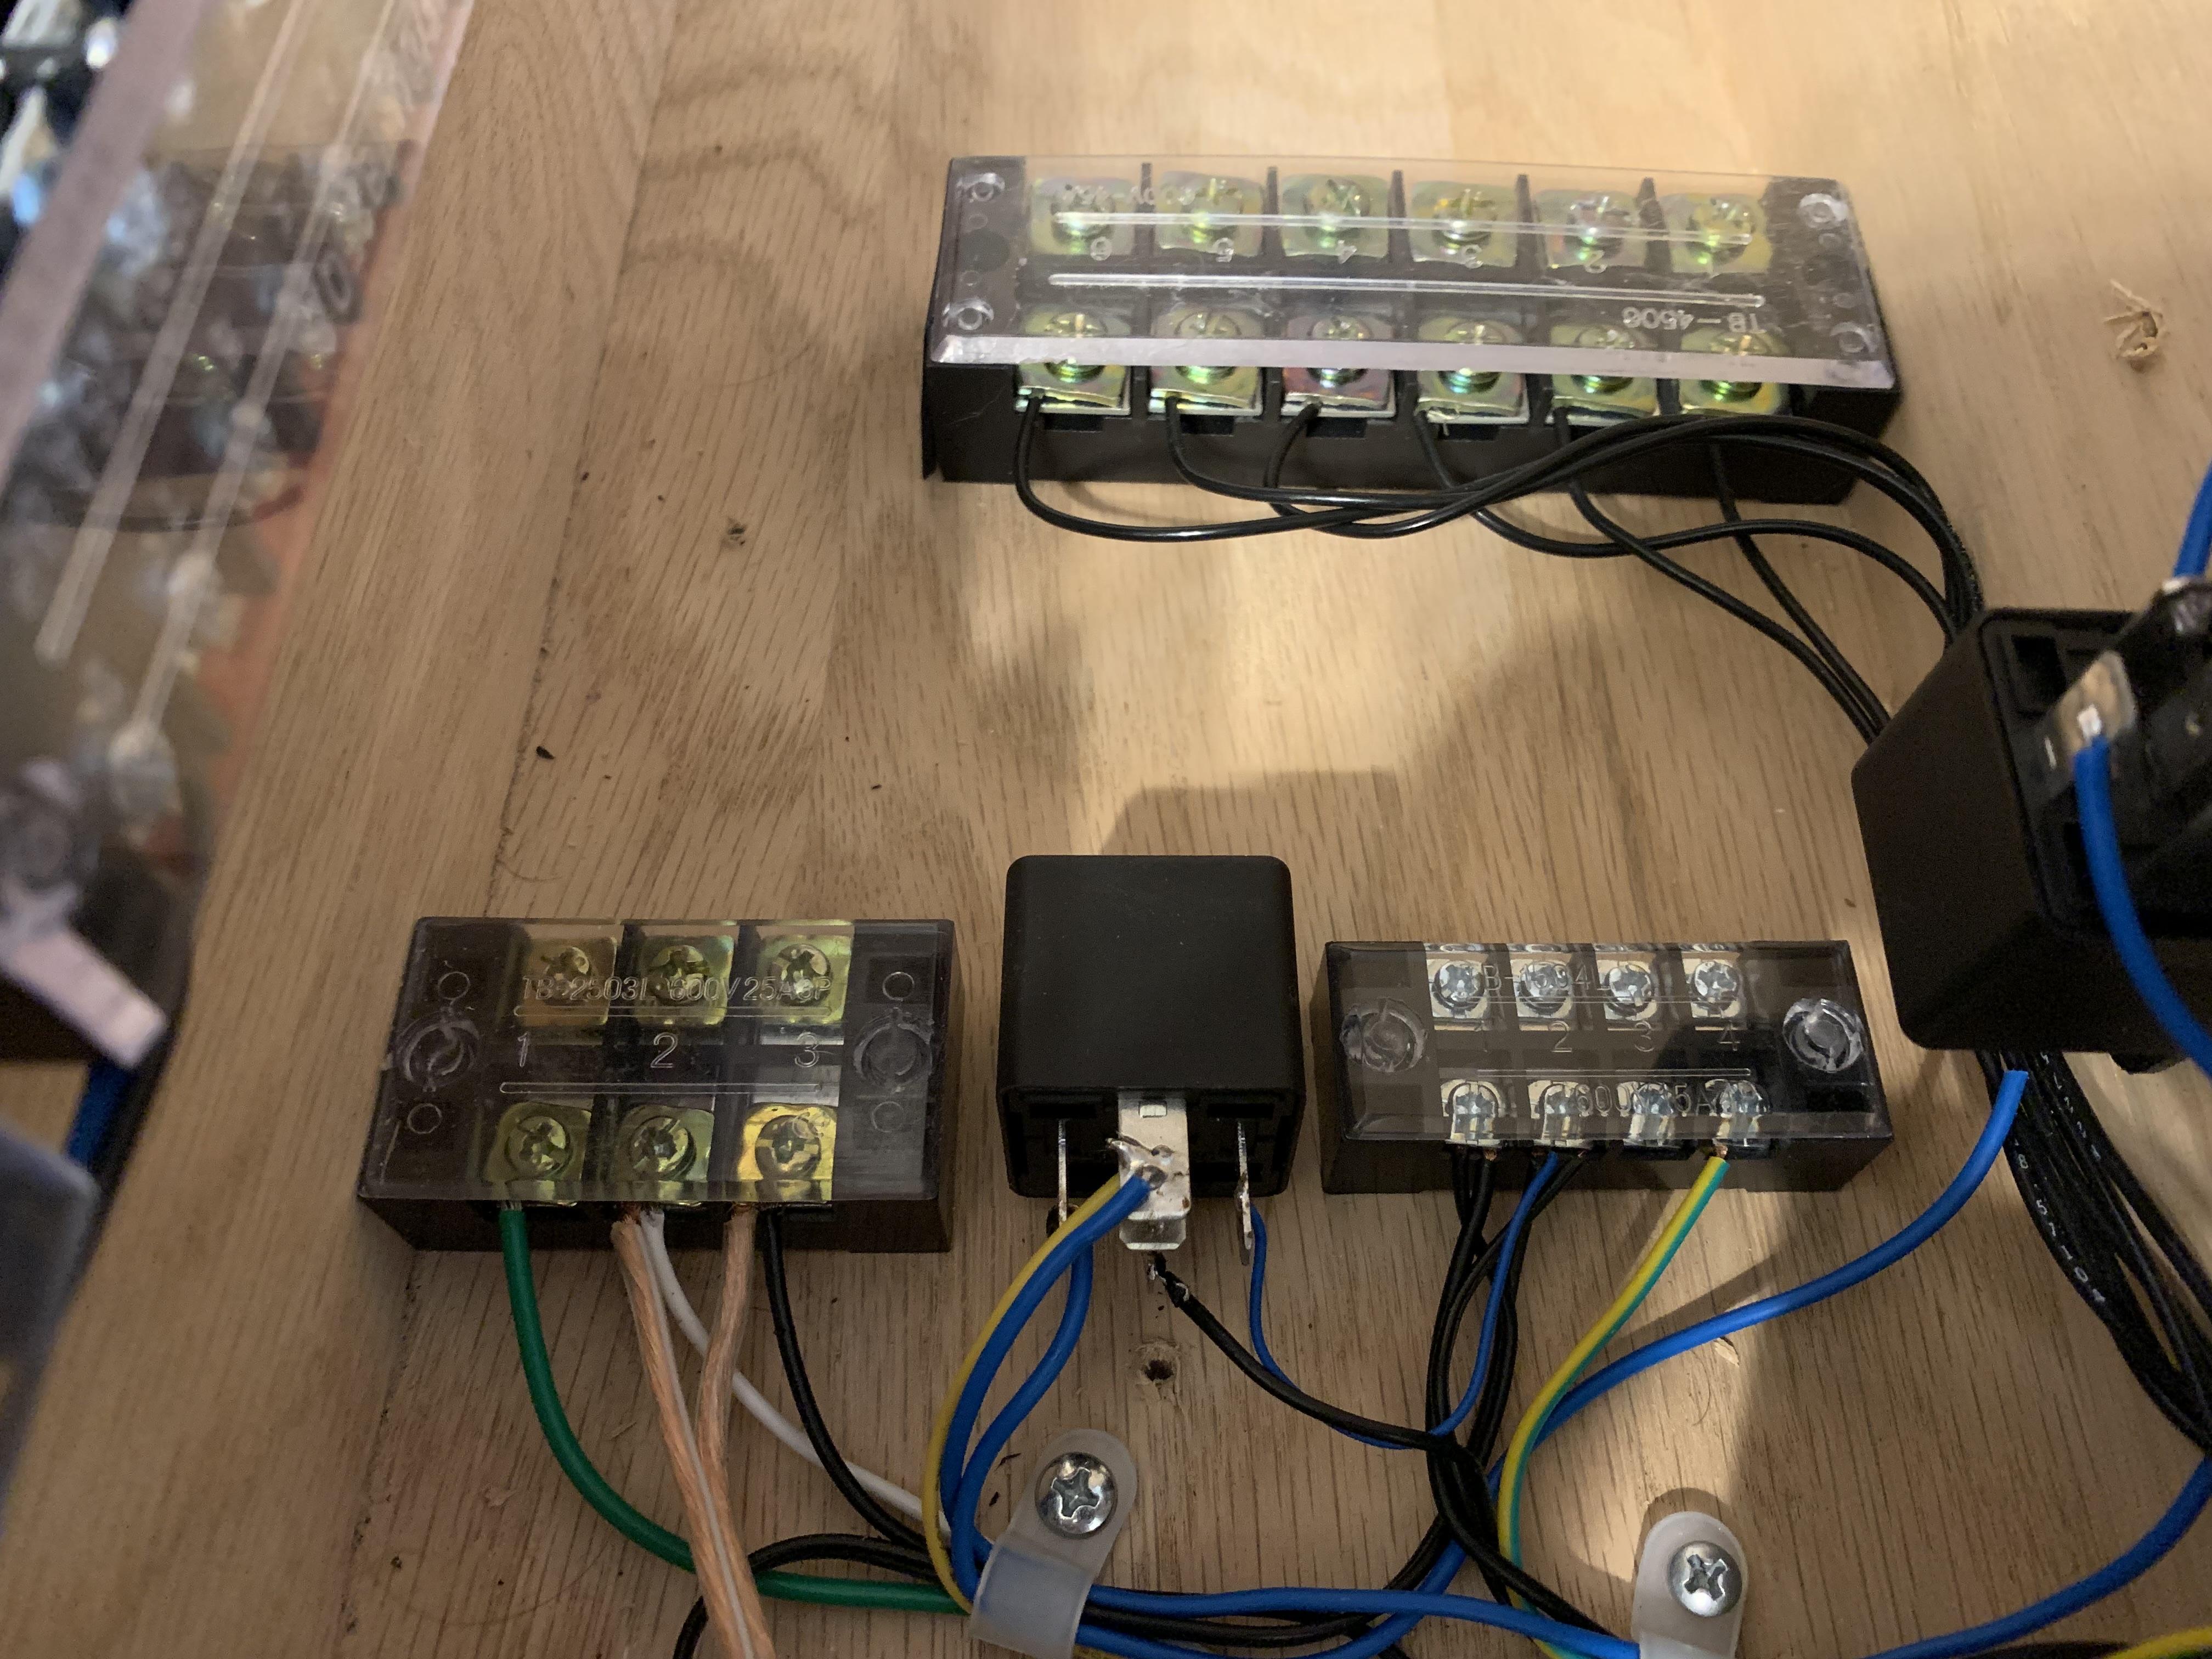
Since my analog stream is in stereo, I - of course - need to have four sets of terminals to make wiring easy. That's what's shown in the above picture; there's one for +R, -R, +L, and -L. Everything we need! They all connect to an input block by way of an ESP-8266 relay-breakout-board (shown in the upper-right of the image below).

When I get this set up (completely) the little ESP board will listen for MQTT commands from my home-automation server that will tell it to open the normally-closed relay contacts and effectively shut down the whole analog audio network by disconnecting my study mixer from the rest of the house.
Detecting Doorbell Use
In my house, the doorbell is a bit difficult to hear from anywhere other than the livingroom. I mean, it's possible to hear it from around the house, but not always. When I'm in the kitchen, if I'm cooking (which is often what I'm doing when I'm waiting for the doorbell), I can't often hear the bell over my skillet! So, I want to integrate the doorbell detection into some more intelligent operations and be able to send push notifications or even play audio chimes through the centralized audio system. Shouldn't be difficult, but I need to interface with one of my little Technologic TS7500 computers. Now... this computer has a 5VDC input. Not exactly ideal when the doorbell is running at about 16VAC.
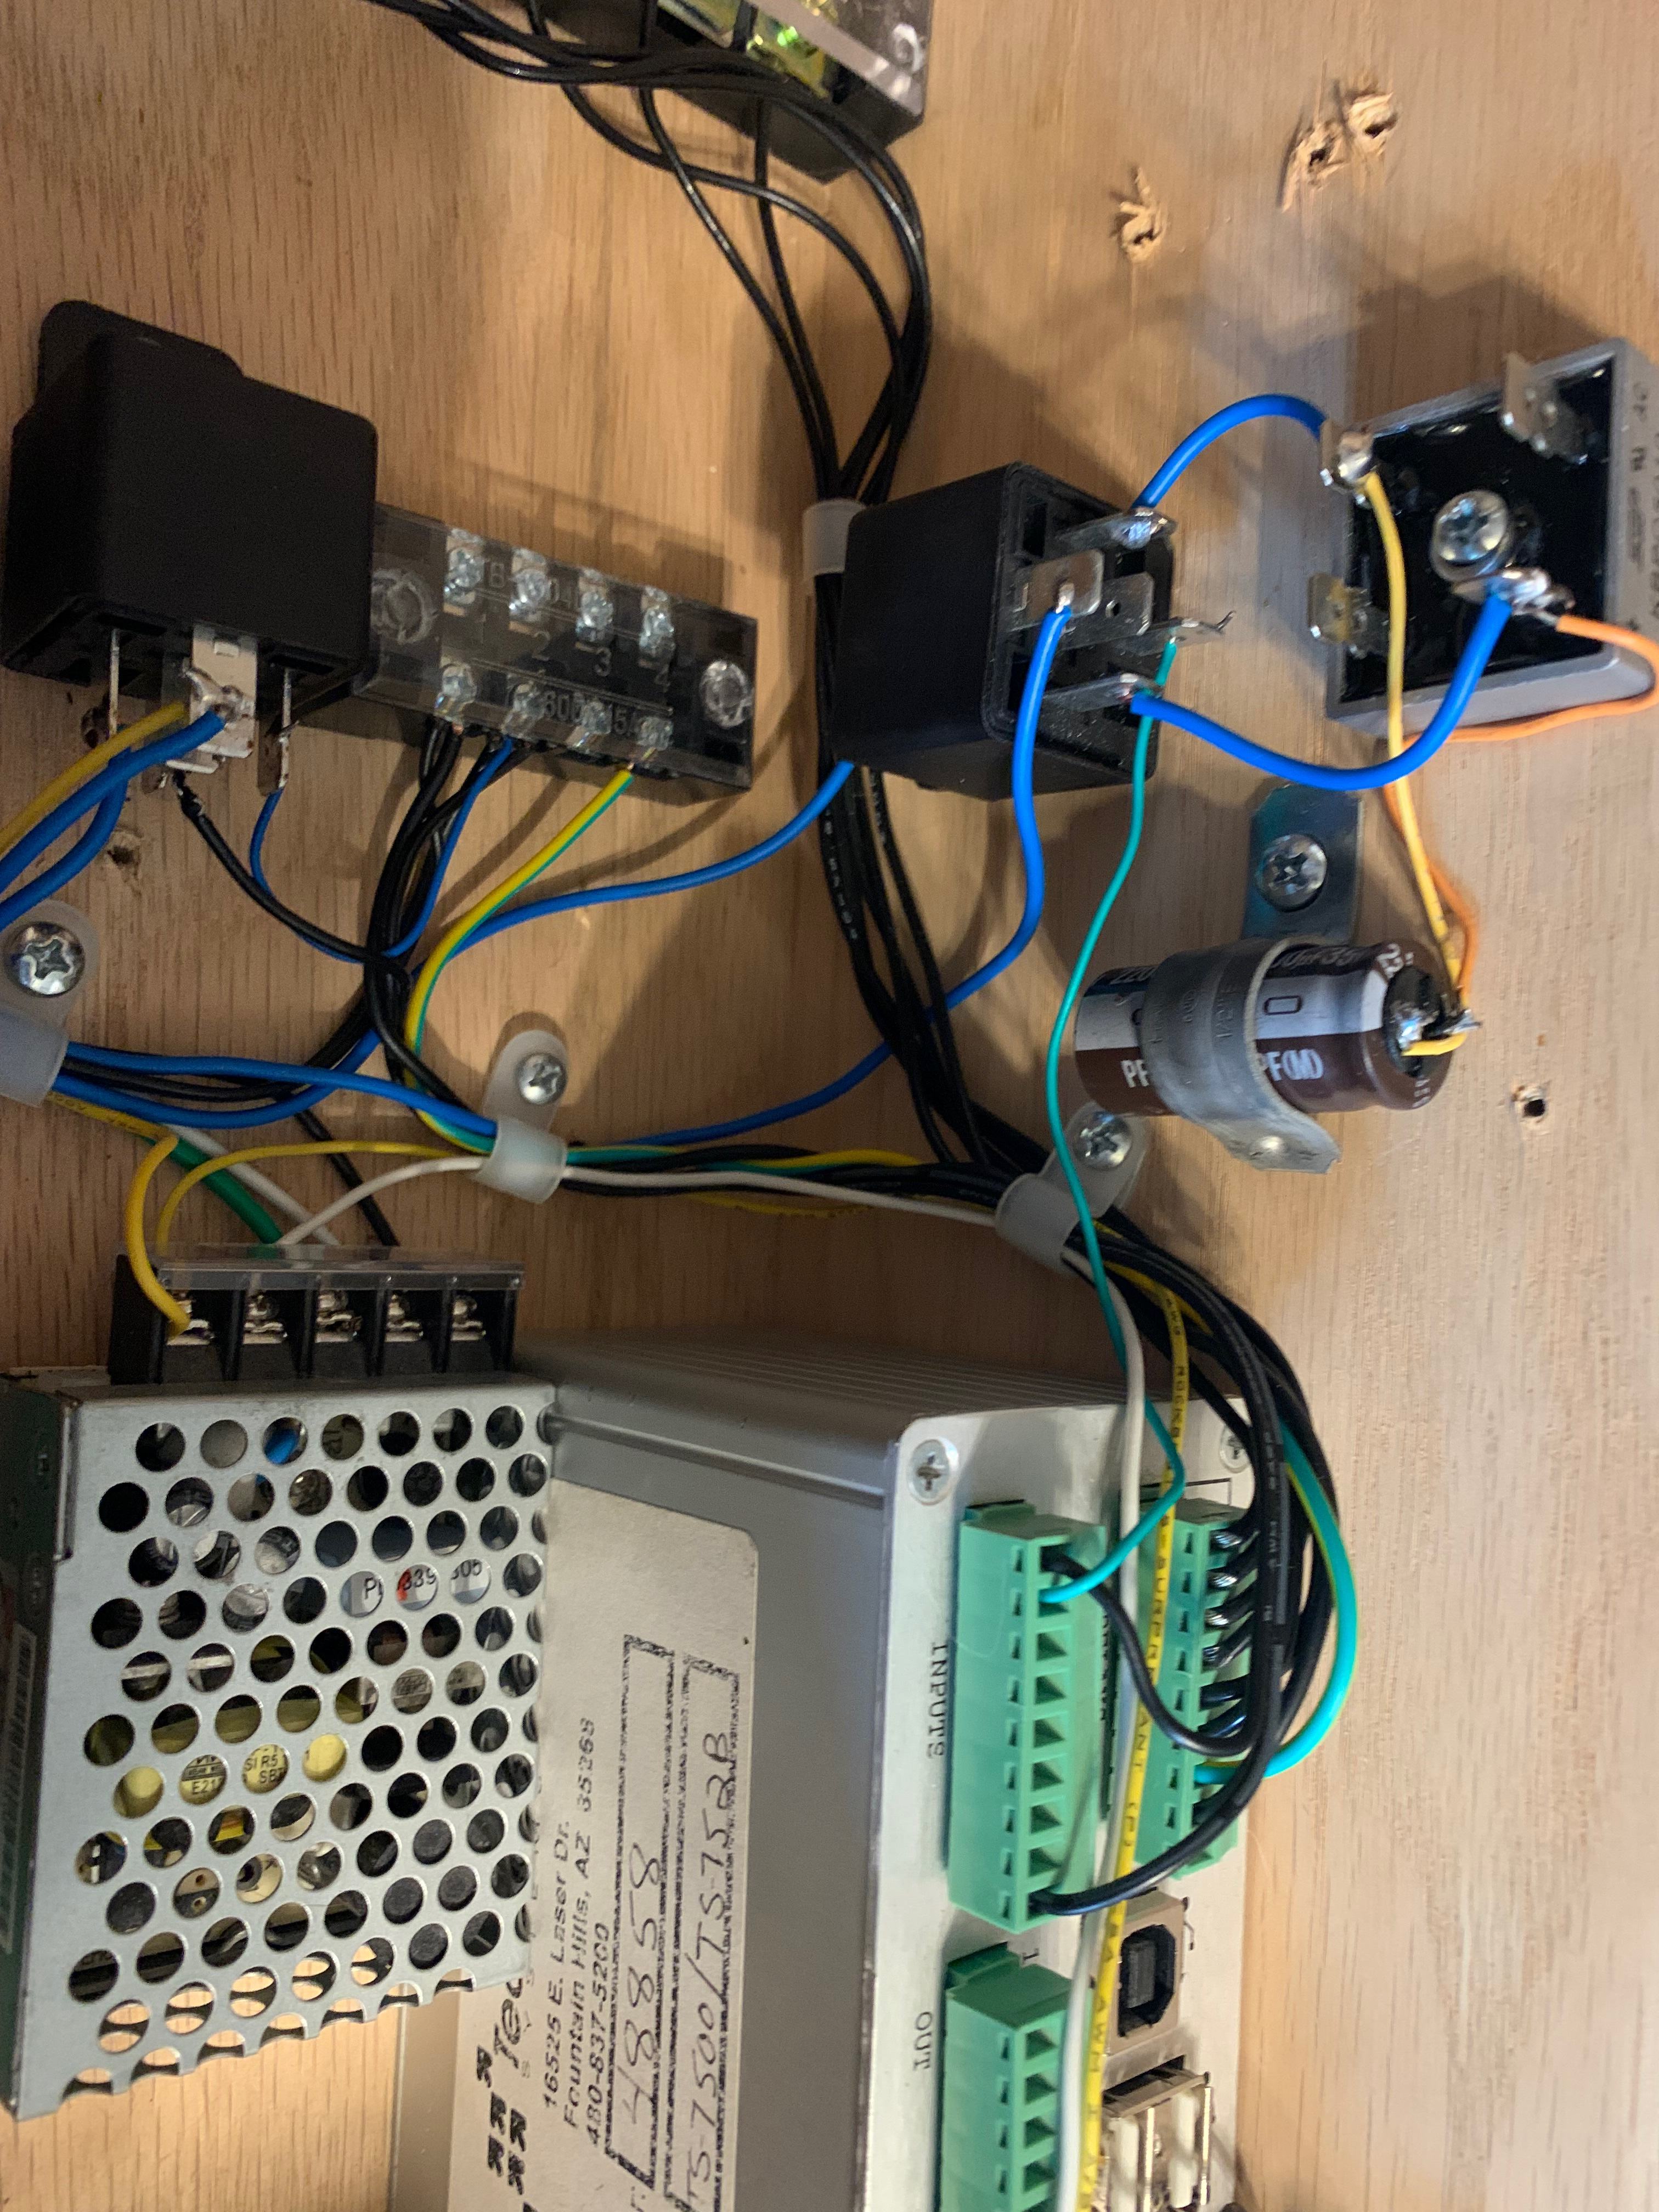
Thus, another part of my home-automation center was built up. I needed to consume the AC input, run it through a bridge rectifier (the grey square on the right), apply a little filtering and smoothing with a "reasonably big" capacitor, and then shove that into a 12VDC relay.
and why, Joe, didn't you just use an AC relay?
Erm... I don't really have a good answer for that other than the fact that I had all of these components on-hand, and it seemed like fun. Call me cheap for not picking up a $4.00 relay. Go ahead! I won't argue. It is cheap. But, I already had a few things on-hand, and heck! Why not?!
That relay is really only needed to use the doorbell signal to trigger the 5VDC signal to pass to the little Linux computer's input which then, in turn, can be monitored and used for triggering all manner of things.
Leveraging Lights
Another feature that I want to add is making one of the lights in my entryway a three-way switched light. The purpose of which is reasonably self-explanatory, but I want to bring intelligence to one of the light in my living room. The challenge is that the light is a traditional one, and it's already wired into the wall (properly), and I'd rather have a true three-way-switch than the dumb little "hack" that I used for my dining room light (which will surely change someday).
I've gone ahead and connected a nice, big, wiring block (shown in the upper-right of the image below) to allow for connections into the computer and the light itself. This should make it nice and convenient, and make a true 3-way switch possible where the computer and the light switch will always be responsive to control, and I won't have to wait for the dumb thing to boot up and initialize.
The Technologic computer, of course, has its own relay-break-out-board which also sandwiches nicely into its fancy little aluminum case (shown below), and that is how I'm taking control of the light. Just like any other three-way-switch, I'm using the NO/NC contacts to wire opposite those of the three way switch I'll mount in the wall, and then I'll be able to control the light, either from a physical switch, or from the computer. Either way, no problem!
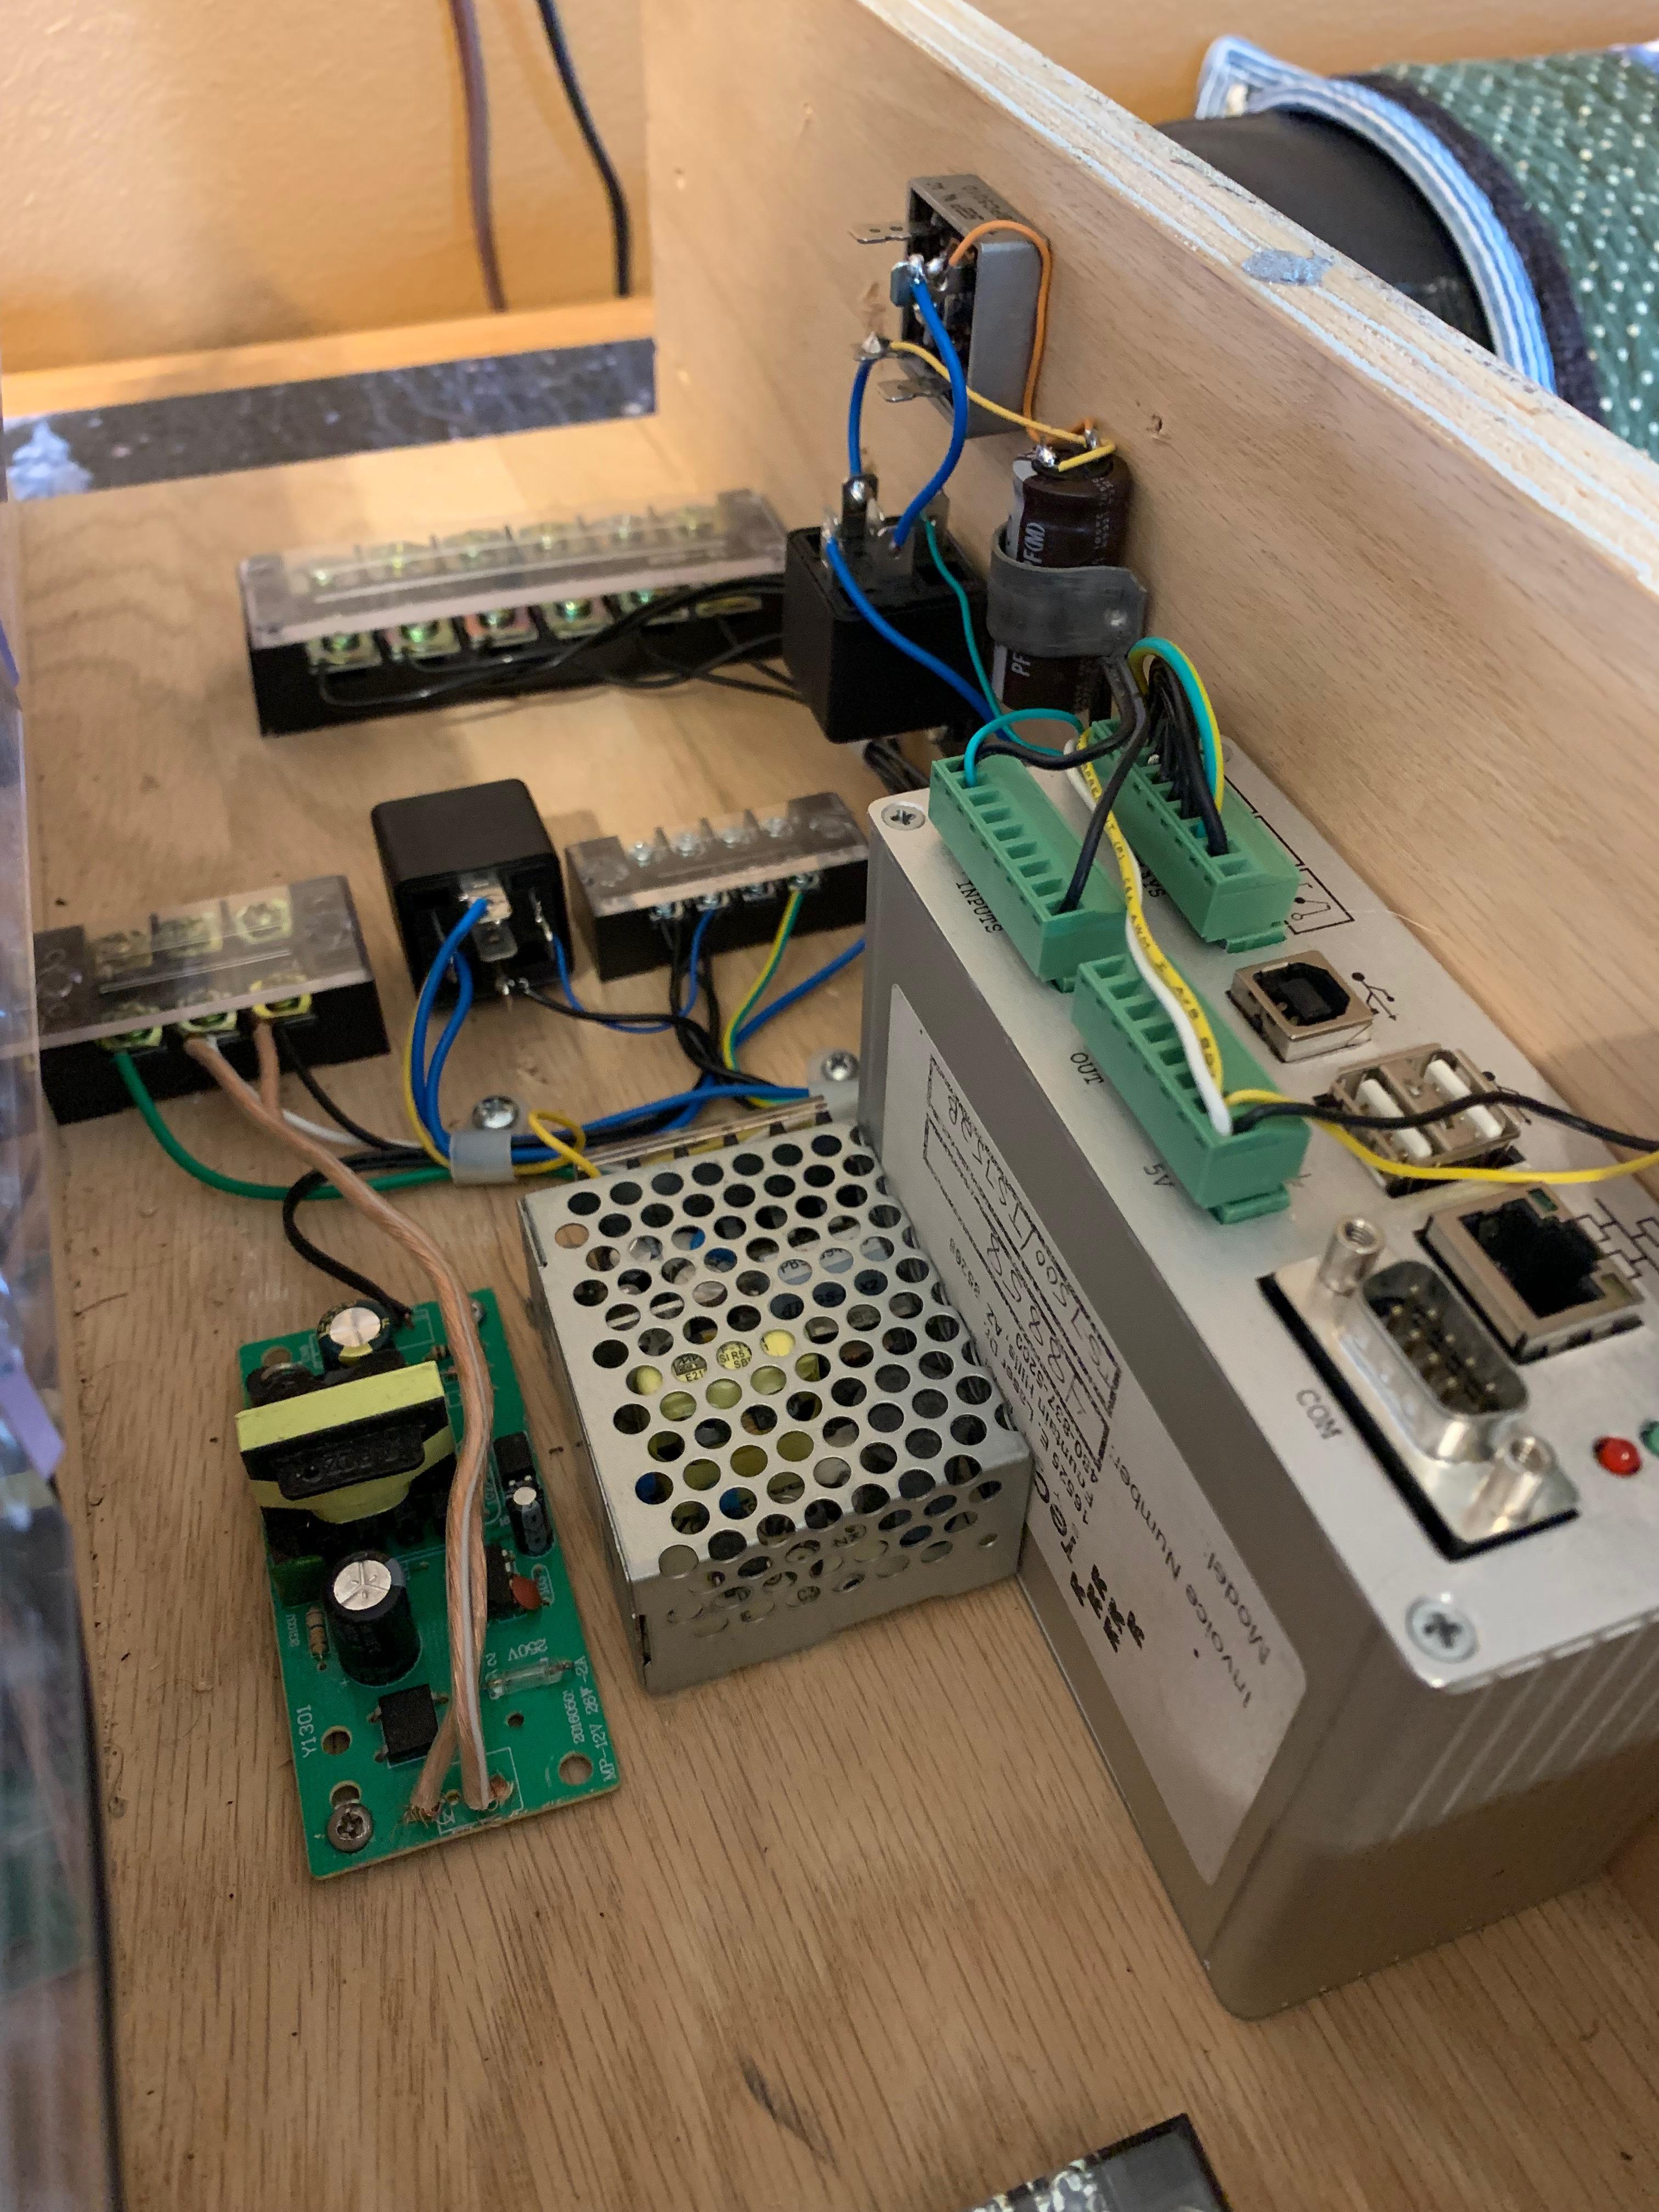
You might also notice that there's a couple of power supplies there. I've got a nice little "computer-style" power supply which provides 5V, and I've also got a little board that I salvaged from some old (crappy) DJ dance lights that provides 12V.
and what, Joe, is the 12V supply for?
I'm glad you asked!
Talking with the Telegraph
That's right... I'm nerdy enough that I want to connect to an old Telegraph key, and actually do something with it. I'm wiring it in by my front entryway for no other purpose than to excentuate my "nerdiness". I'm not even quite sure what the system will do, yet, but I'll come up with something cool. Maybe listen for special "commands" and "do" respond with secret messages if you send the right code. Maybe just repeating messages back to the sender. Maybe other things. Who knows! If you've got some fun ideas, drop a note in the comments below!
"""
Side Note:
----------

In case you weren't aware (and since I still haven't written a post about how I did it, you're probably not aware)
the comment system embedded here in my blog is all hosted on an old computer in my basement (one of many), and is
completely managed by me! So no worry about some third party service discontinuing their product. I get to keep
hosting it as long as I want... Go ahead! Try it out! It even supports markdown...
"""

Wrapping Up
It's fair to say that there's quite a bit more that I still need to do here. In fact, I've got a lot of wiring to do, still... But I'm excited that this project which, notably, is recycling the "box" that I used for my first foray into some home autoation is coming along nicely. In fact, this box contained the same computer and some of the same components to allow me to dabble in my first home-automation and Python web-serving application. There's still much to be learned.
The Linux computer is OLD, and will only (realistically) run Debian 5, which will make updates near impossible. That means that Python is going to be constrained to Python 2 (if I'm lucky, maybe I can load from the DeadSnakes PPA - but I'm doubtful), and that pretty much blocks the use of MQTT. That said, I still think I can pretty effectively set up the computer to host a little web-server to have REST-API endpoints, and I think I can even get it set up to make REST-API calls.
I'm excited to see what fun will come of this! Stay tuned for more!