Search is never easy, right? Especially when we're adding it to a static website, which by its very definition does not have any server-side tools to permit the construction of some form of server index, and live searching capability.
So how do we do it?
With Javascript, of course!
... wait ... that sounds kinda awful for somebody who's a Python fan through-and-through.
Thank goodness there's some tools out there, already that make this all possible!
Introducing: pelican-search
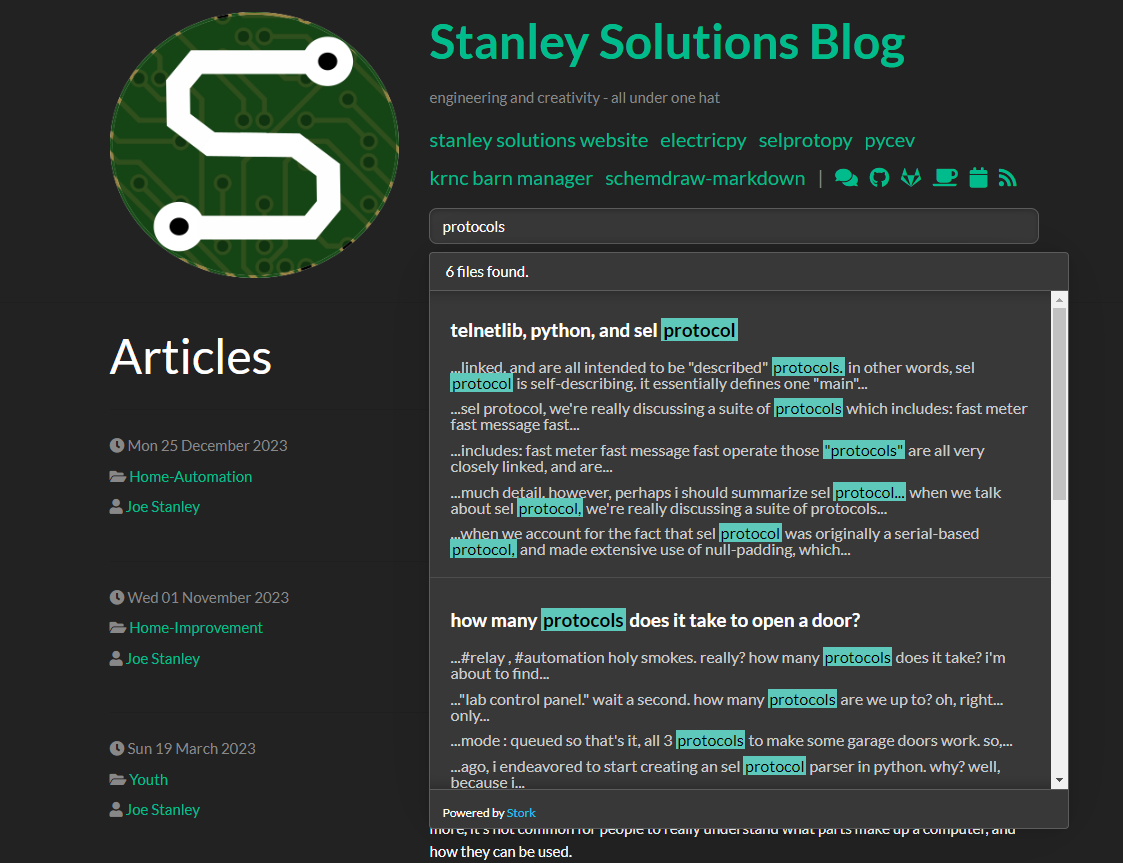
As the name implies, this Pelican plugin incorporates search capabilities into a Python Pelican-based system. Simply put, at the time of generation, the plugin indexes all of the content in the blog's many pages and puts together one big "cheat-sheet" from which a few Javascript utilities may pull references to support a search functionality. The end product looks like what I've shown here, on the right.
Pelican Search relies heavily on Stork Search, a Rust-powered (insert audio effect from Jupiter Broadcasting here...) search tool that markets itself as:
Impossibly fast web search, made for static sites.
I started working on this a few months ago, in a little "free time" (basically non-existent for me these days), and didn't have much success.
Most notably, my current system was not using a <main>...</main> tag to contain the body of the page as is
documented in their repository, and although I'd tried a few of their
other incantations, nothing was quite working as I needed.
To further complicate things, my primary Pelican theme (Pelican-Alchemy), was being loaded
into my project simply by installing the tarball, directly from GitHub. This meant that although I was pulling the most-up-to-date source, it wasn't
available directly in my blog's repository.
So... There's my first task. Remove the tarball from my requirements.txt file and make Pelican-Alchemy a proper git submodule in my project.
pelican
- https://github.com/nairobilug/pelican-alchemy/tarball/master
Markdown
plantuml-markdown
schemdraw-markdown
And in case you're wondering, I just needed to run the following command to add the package as a git submodule:
git submodule add https://github.com/nairobilug/pelican-alchemy themes/pelican-alchemy
A little editing in my pelicanconf.py file, later, and I was now ready to use the submodule-style theme. Oh! While I'm at it,
I'll also call out the reference for the new CSS stylings I'll need to get the theme for Stork working, nicely.
- import alchemy
- THEME = alchemy.path()
+ THEME = 'themes/pelican-alchemy/alchemy'
THEME_TEMPLATES_OVERRIDES = ['content/templates']
BOOTSTRAP_CSS = 'https://bootswatch.com/4/darkly/bootstrap.css'
THEME_CSS_OVERRIDES = [
    '/custom.css',
+    'https://files.stork-search.net/dark.css'
]
SITESUBTITLE = 'engineering and creativity - all under one hat'
Oh! and don't forget that we need to use submodules when we do the checkout in GitHub actions!
    name: Build
    runs-on: ubuntu-latest
    steps:
-      - uses: actions/checkout@v2
+      - name: Checkout
+        uses: actions/checkout@v4
+        with:
+          submodules: true
      - name: Install Python
        uses: actions/setup-python@v1
        with:
Now... with the full source of Python-Alchemy in my repo, I got to some spelunking...
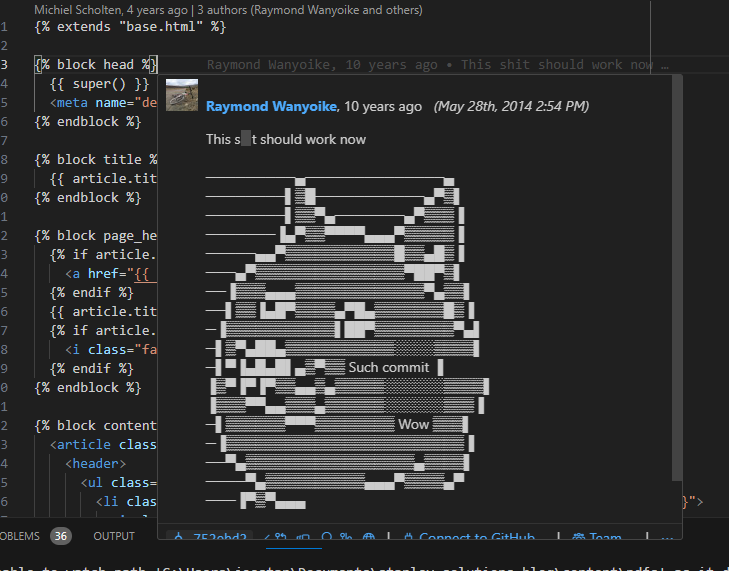
I've just got to stop and show you this. While I was poking around in there, I saw this commit message... Just look at this thing.
Glorious.
Anyway...
I started poking around, and found that if I over-rode the article.html Jinja template, I could add the <main>...</main> that I so
desperately wanted. So, I did! I added a new file called article.html to my content/templates/ directory. This file was almost an
exact copy of the original Alchemy template, with the addition of the main tag as shown here.
...
{% endblock %}

{% block content %}
+  <main>
    <article class="article">
      <header>
...
      </div>
    </article>
+  </main>
  {% include 'include/comments.html' %}
{% endblock %}
With those additions now in place, the changes I'd made ages ago to support using Stork in the GitHub Actions workflow would now work!
-      - name: Install dependencies

+      - name: Collect Toolchain Requirments
+        run: |
+          wget https://files.stork-search.net/releases/v1.6.0/stork-ubuntu-20-04
+          chmod +x stork-ubuntu-20-04
+      - name: Install Dependencies
        run: |
          pip install -r requirements.txt
I decided to continue with my dark theme, opting to use the Dark theme provided for Stork, which
definitely looks clean on the site. This just took me adding the following to a customized content/templates/include/header.html file:
          <li class="list-inline-item"><a class="{{ fa(icon) }}" href="{{ url(link) }}" target="_blank"></a></li>
        {% endfor %}
      </ul>
    {% endif %}
+    <div class="stork-wrapper-dark">
+      <input data-stork="sitesearch" class="stork-input" placeholder="search"/>
+      <div data-stork="sitesearch-output" class="stork-output"></div>
+    </div>
+    <script>
+      stork.register("sitesearch", "{{ SITEURL }}/search-index.st");
+    </script>
  </div>
</div>
And a little bit to a customized content/templates/base.html
  {% for stylesheet in THEME_CSS_OVERRIDES or () %}
  <link rel="stylesheet" href="{{ url(stylesheet) }}">
  {% endfor %}
+  <script src="https://files.stork-search.net/releases/v1.6.0/stork.js"></script>

  {% include 'include/xml_feeds.html' %}
  {% block head %}{% endblock %}
  {% include 'include/analytics.html' %}
Certainly a good number of changes for this, but really, it's not all that bad. And now, I've got search!